Fly Tying Tools – Getting Started the Right Way
Why listen to me? I started tying flies 35 years ago. I now tie flies professionally. Did I get started the right way? Not a chance. I bought a kit with a vise that would barely hold a hook and contained an incomplete set of very cheap and frustrating-to-use tools. I have replaced these several times over and added some additional tools as my tying has gotten more advanced, but I still have a handful of go-to tools I use on every fly. I will provide this short list of must-haves and also some specific tools for specific fly styles or tying techniques. The goal is to avoid my starting situation of coupling poor tools with lack of experience which resulted in unnecessary frustration and slow progress.
FULL DISCLOSURE: I have no business relationship with any of these manufacturers in any way. I am not a memeber of any affiliate program. I do make a few pennies from ads on the site. This does not influence my product recommendations as I do not control the ads that are displayed to you.
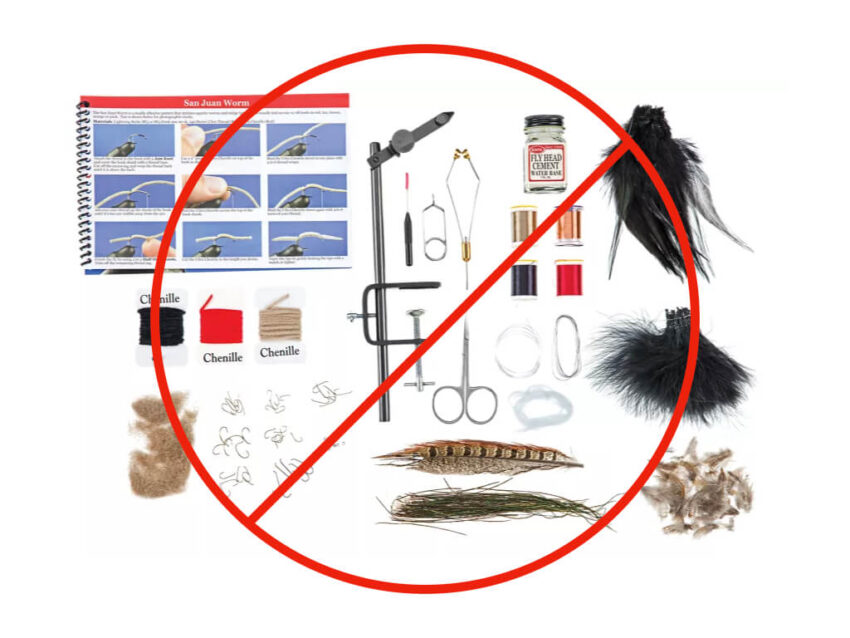
What is Wrong with a Fly Tying Tools Kit?
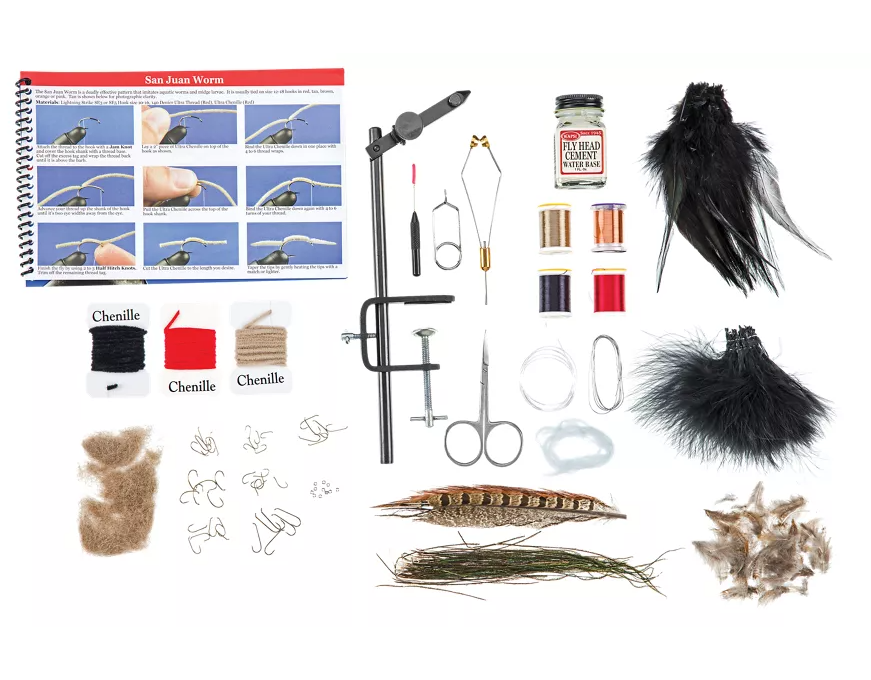
I will admit, some have gotten better (the one pictured above is not one of them). I will also say that I have not seen one that is complete. They all seem to have lots of useless things in them that are there to simply increase the volume of contents in the kit. Additional reasons to avoid kits:
- Poor Quality Vises – the vise is the foundation of your work. A good vise should hold the hook firmly and rotate as required. It doesn’t have to be the most expensive one on the market. I still tie on a Renzetti Traveler. Get a decent vise if you don’t take any other recommendations to follow.
- Quality – the tools provided usually vary greatly in quality. Unless produced by a specialty manufacturer, the scissors are usually the first problem. The other tools fall close behind and all are inferior to what you can buy individually for not much more.
- Tying Materials – most kits include hooks and tying materials. These too usually fall into either the poor quality or useless category (and some in both).
Let’s get into the list of fly tying tools that WILL get you started the right way.
Fly Tying Vise
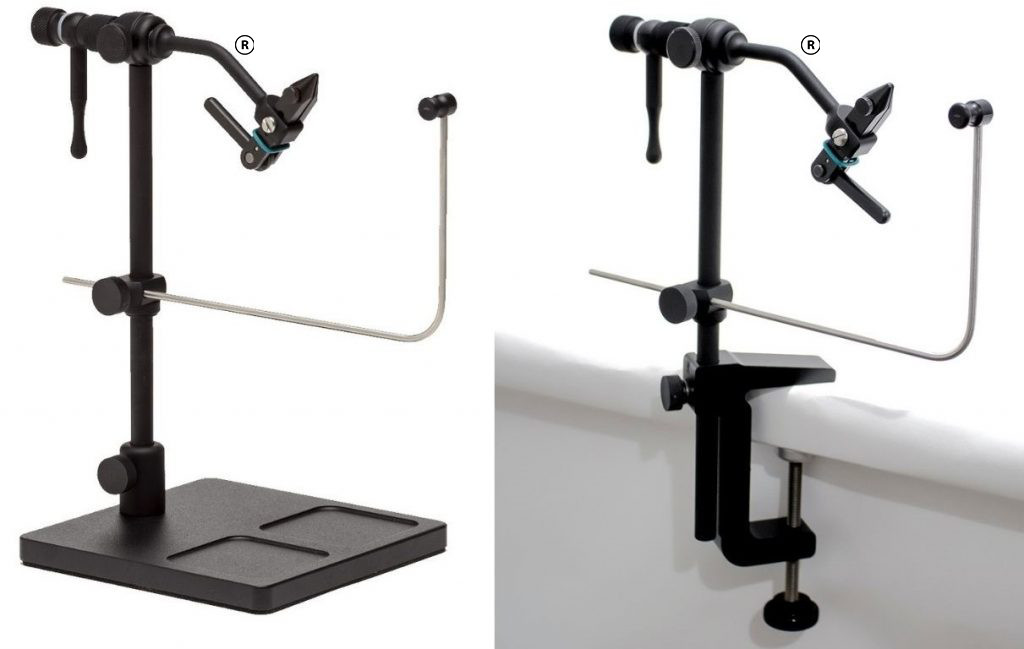
No matter what fly you tie, it all starts with a hook in the vise. This should end up being an easy transaction with the vise and the hook and the vise should simply get out of the way and let you tie your fly. This is THE most important tool you own as a fly tier. Save money elsewhere. I have another post that goes in more depth on this subject and will link to it here. Take a look and come on back.
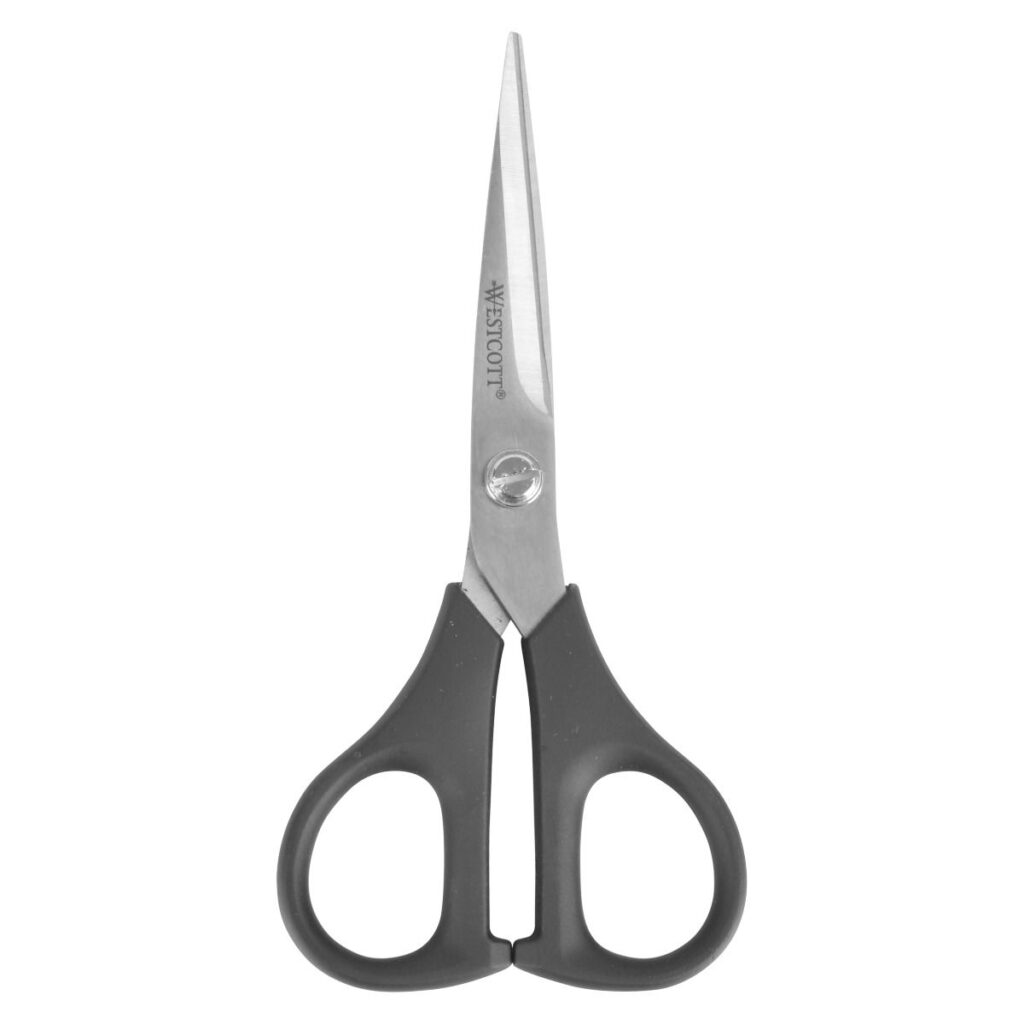
Scissors
There are so many scissors specific to fly tying on the market that I have not and cannot review them all. I can tell you I have chosen budget fine scissors and have been disappointed quickly when applying to up close work on hair or CDC trimming. You will need two pairs of scissors. One should be a “rough-cut” type that is used for cutting foam, wire and other tougher materials. The other should be reserved for deer hair, close trimming, thread and other “fine” work.
Westcot makes a perfectly serviceable “rough cut” scissor for currently less than $4 that you can find at Walmart or other retailers:
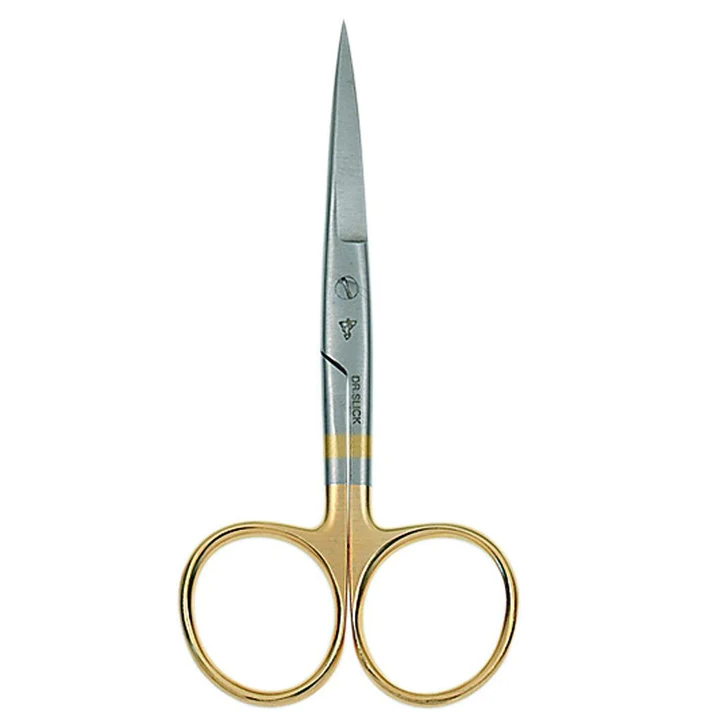
Fine cutting scissors abound. I have landed on Dr. Slick brand. They have been in business since 1998 and produce a reliable and quality product. If you look at all the designs available, the point of each of them is the same (or almost the same), so I recommend going with the “Hair” scissors as your first pair. They can do all the work the smaller versions cannot and can still get close on all fine work. I own a few specialty pairs but these are on the bench every day and should be your first ones. These will run you about $20.
Fly Tying Thread Bobbin
A bobbin is used to hold your thread spool and give you full control as you wrap the thread around the hook and material. There are several barrel types on the market including brass, titanium, ceramic and glass-lined. I prefer and recommend the glass-lined 4″ model from Dr. Slick. These are affordable and will accommodate the widest range of thread types with the least amount of wear. As you get into heavier denier synthetic threads, wear and thread grating will become an issue with brass or even ceramic barrels. You can pick one up for around $10. Get yourself a couple to start.
Hackle Pliers
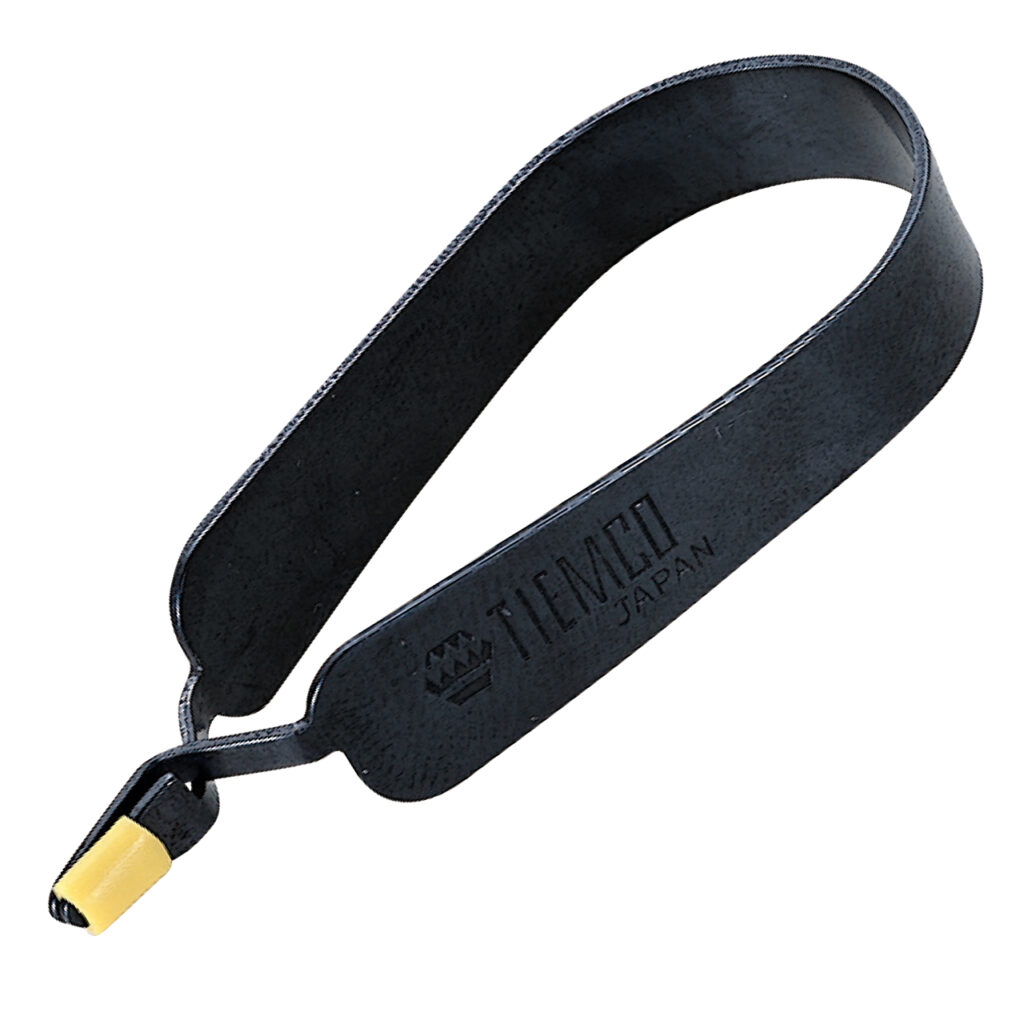
Hackle pliers come in many designs and quality options. I started with the cheap plastic ones that have a plunger with a little hook on the end and went through several before landing on the one I use exclusively today. It is a simple spring model with a plastic cap on one side that is fine enough to grip the stem and closes securely without damaging the hackle or thread by Tiemco. You can get one for around $6.
Bodkin
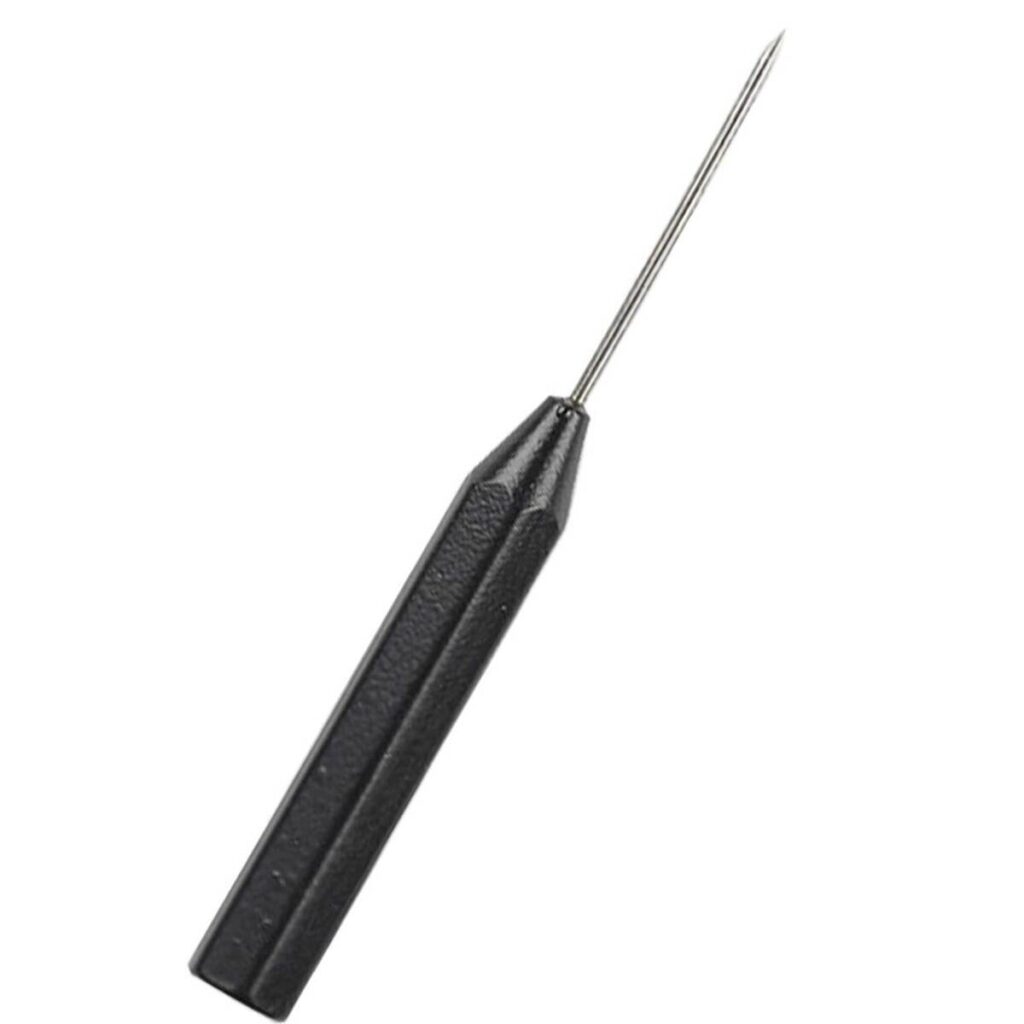
This is a multi-purpose tool that you will use often. It can clear a hook eye, pick at dubbing, apply head cement and many more delicate operations that your fingers can’t accomplish. I prefer a 4″ model with a hexagon base so it stays put on the bench top. It should be all metal construction with a decent size shaft as you will be heating it with a lighter to clear hook eyes and burn off stray fibers. You can score one of these for about $5.
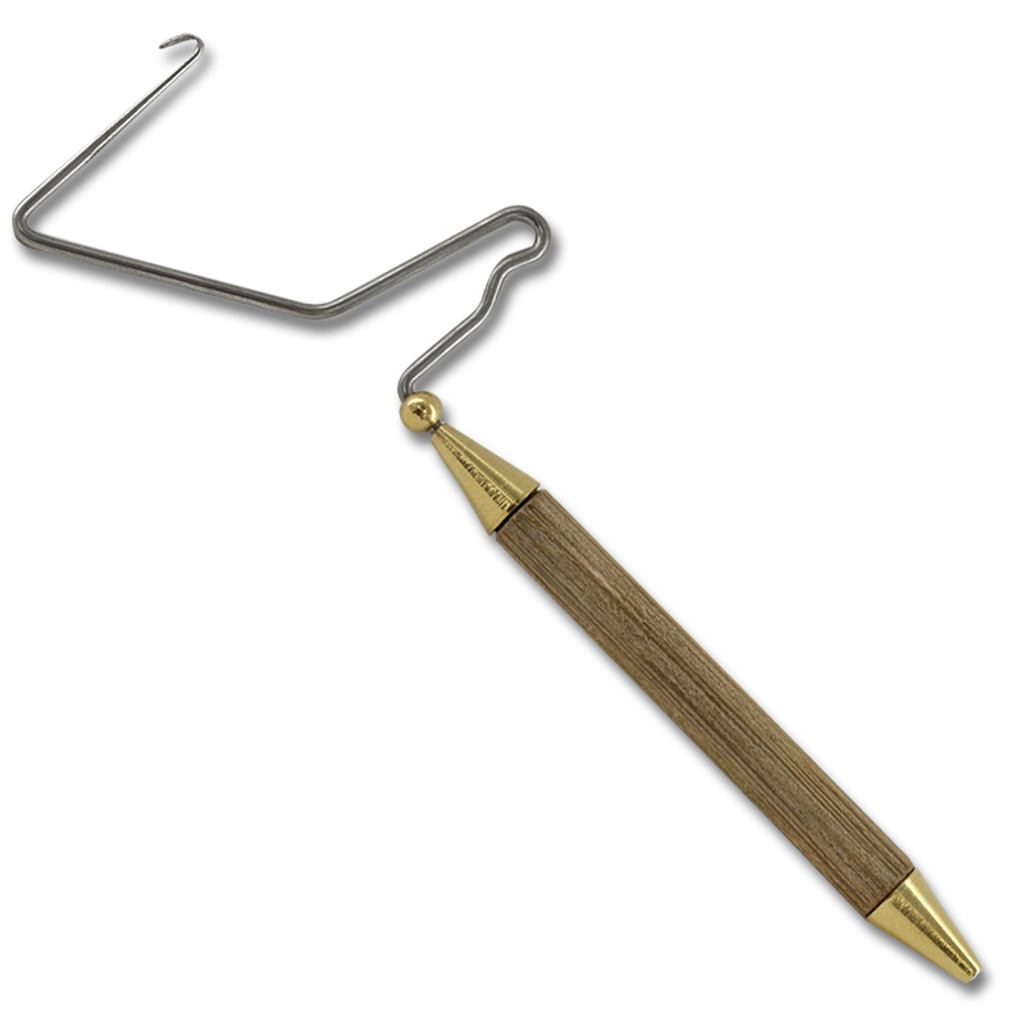
Whip Finish Tool
A whip finish tool is a one-trick pony but it does the trick very well. Even hand whip finish guys have one of these on the bench to get a final tie on parachute fly or other specific situations. I prefer the “bent style” vs. the “figure 4” style and I like the 4″ with a bamboo handle from Dr. Slick that has a half-hitch tool on the end. You can pick one up for about $13.
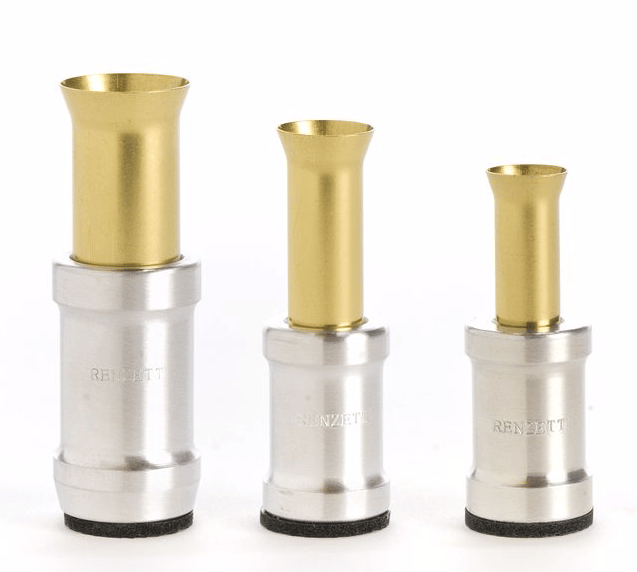
Hair Stacker
The Elk Hair Caddis fly pattern alone will dictate the next couple of tools. When dealing with hide hair (deer, elk, moose, etc), you will need a way to align the tips for tie in and clean the under-fur prior to stacking. The hair stacker is used for the former and this set from Renzetti can be had for about $20.
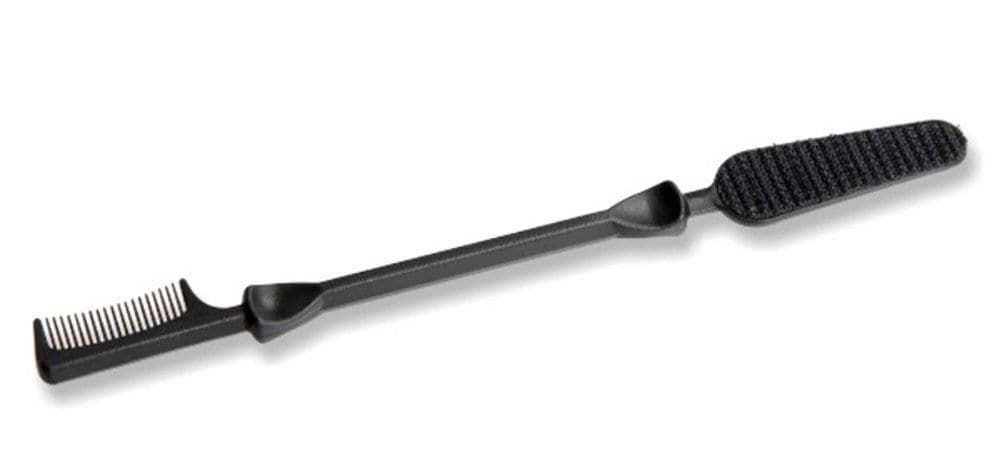
Hair Comb & Dubbing Brush
This tool from Stonfo is a great comb on one end for removing under-fur from hide hair and is a great dubbing brush for teasing out dubbing on the other. Pick one up for about $10.
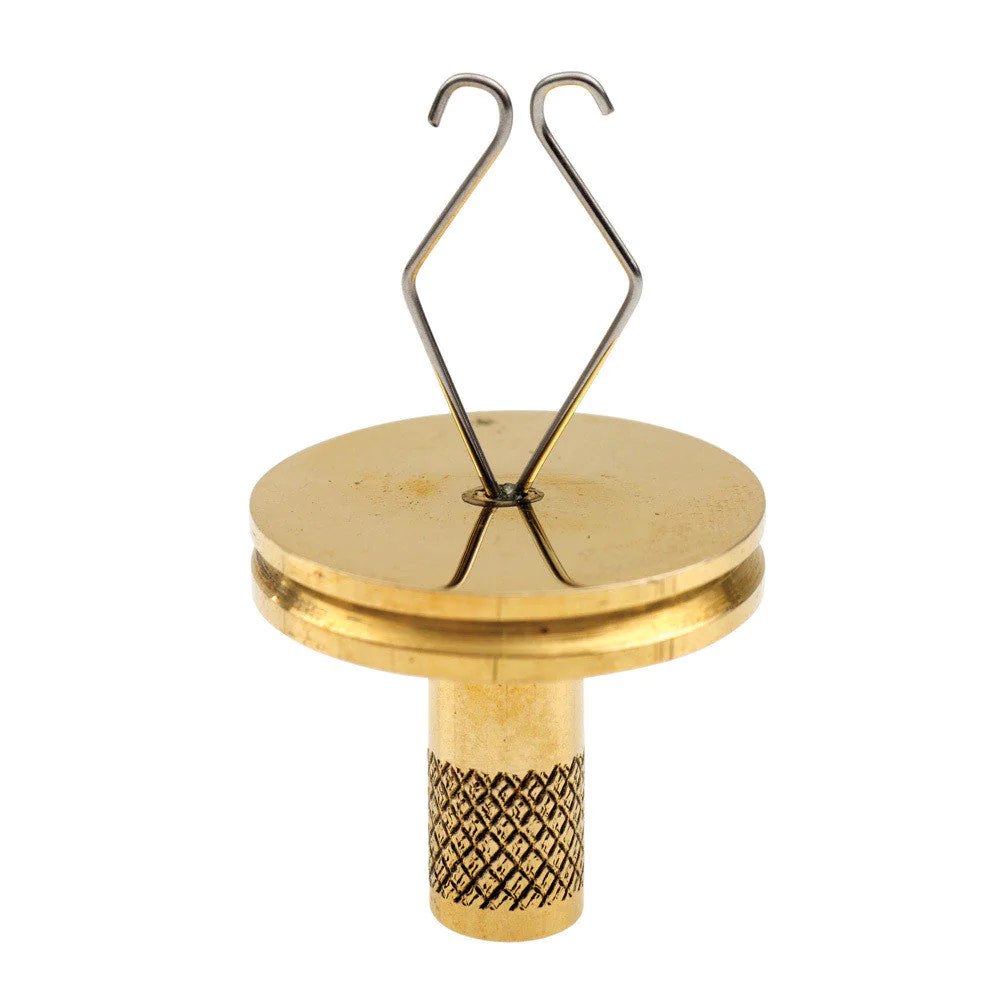
Dubbing Loop Spinner
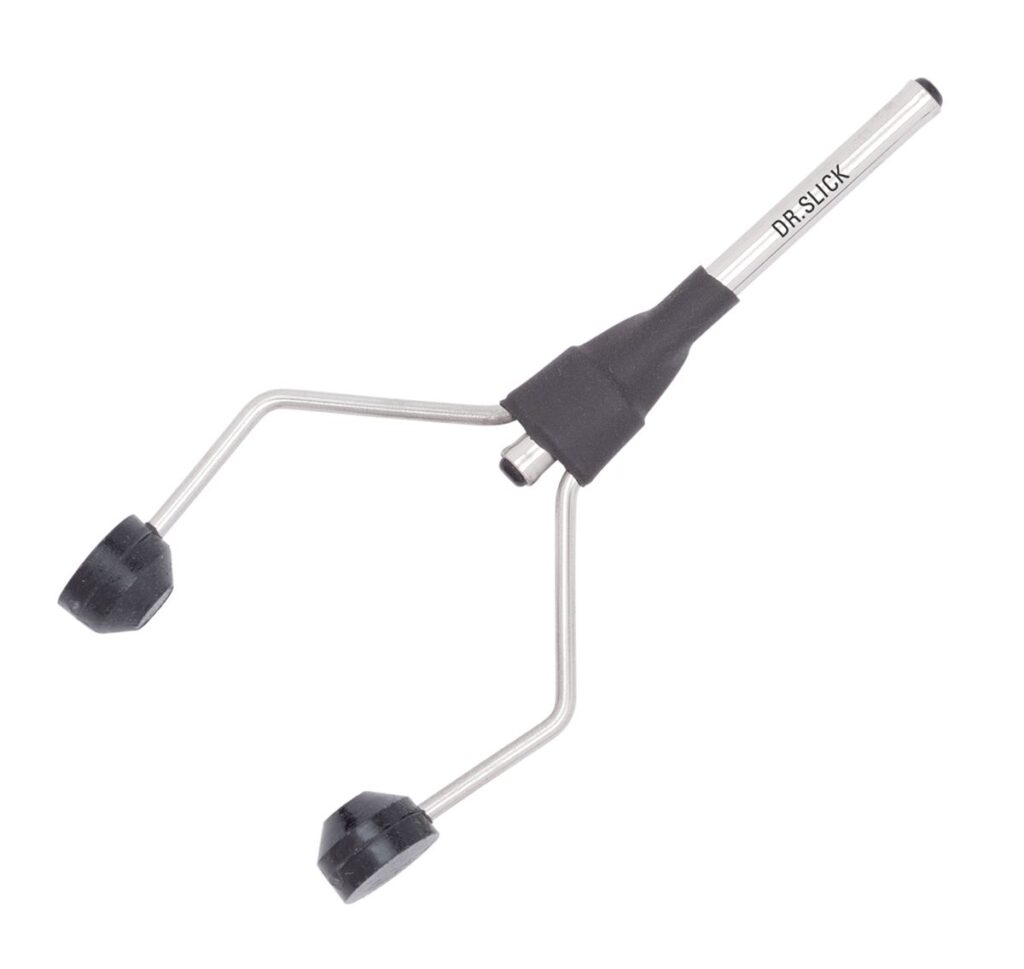
For on-the-fly dubbing loops, you will need a dubbing spinner (dubbing twister). I prefer the design with two prongs instead of a single hook as it keeps the loop slightly open for help with inserting the material and closes easily with a little tension. This one from Dr. Slick has just the right weight and spins like a top. You can get one for about $8.
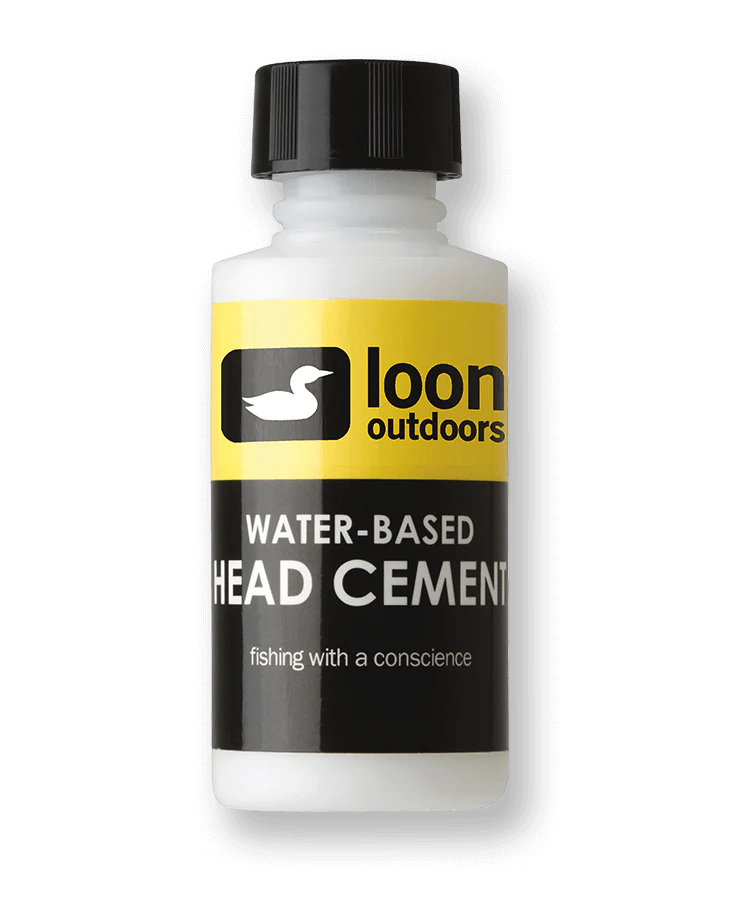
Fly Head Cement
Every fly I tie gets head cement on the final whip finish. I have never had a fly come untied so I keep doing it. I have gone through countless formulas and finally found a head cement that stays flexible and doesn’t dry out in the bottle over time. It is Loon Outdoors water-based head cement. It is a bit more expensive at $7.50 but it stays viable until the last drop. The first thing I do is trim the brush down to a fine point for accurate application.
Dubbing Wax
Get the extra grip for dubbing application, spinning hair and on slick threads. A tube of Wapsi Premium Dubbing Wax seems to last for years. Get the “Regular”, avoid the “super sticky”. You can get a virtual lifetime supply for about $7.

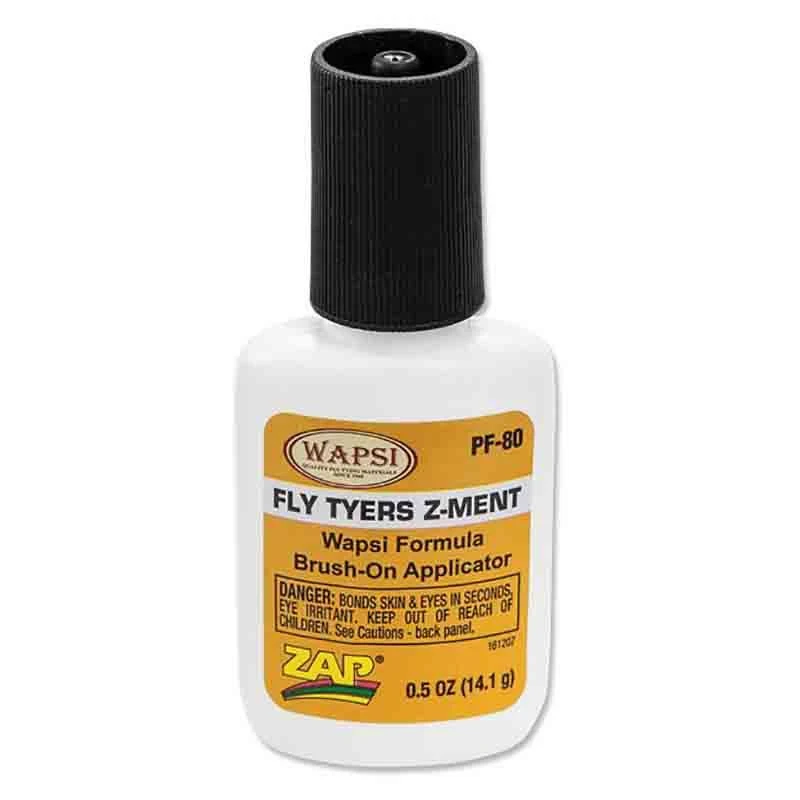
Fly Tyers Z-Ment
I have included this as basic equipment because almost every fly I tie has at least a little super glue on it somewhere. Used sparingly, it can add incredible durability. I have used many formulas and applicators over the years and none beats Fly Tyers Z-Ment from Wapsi. It has the perfect viscosity and sets in about 20 seconds. Same as the head cement, take your rough-cut scissors and snip the brush to a fine point. Also, rub the bottle cap threads with a generous amount of dubbing wax and it will prevent the cap from getting stuck over time. A bottle will set you back about $7.
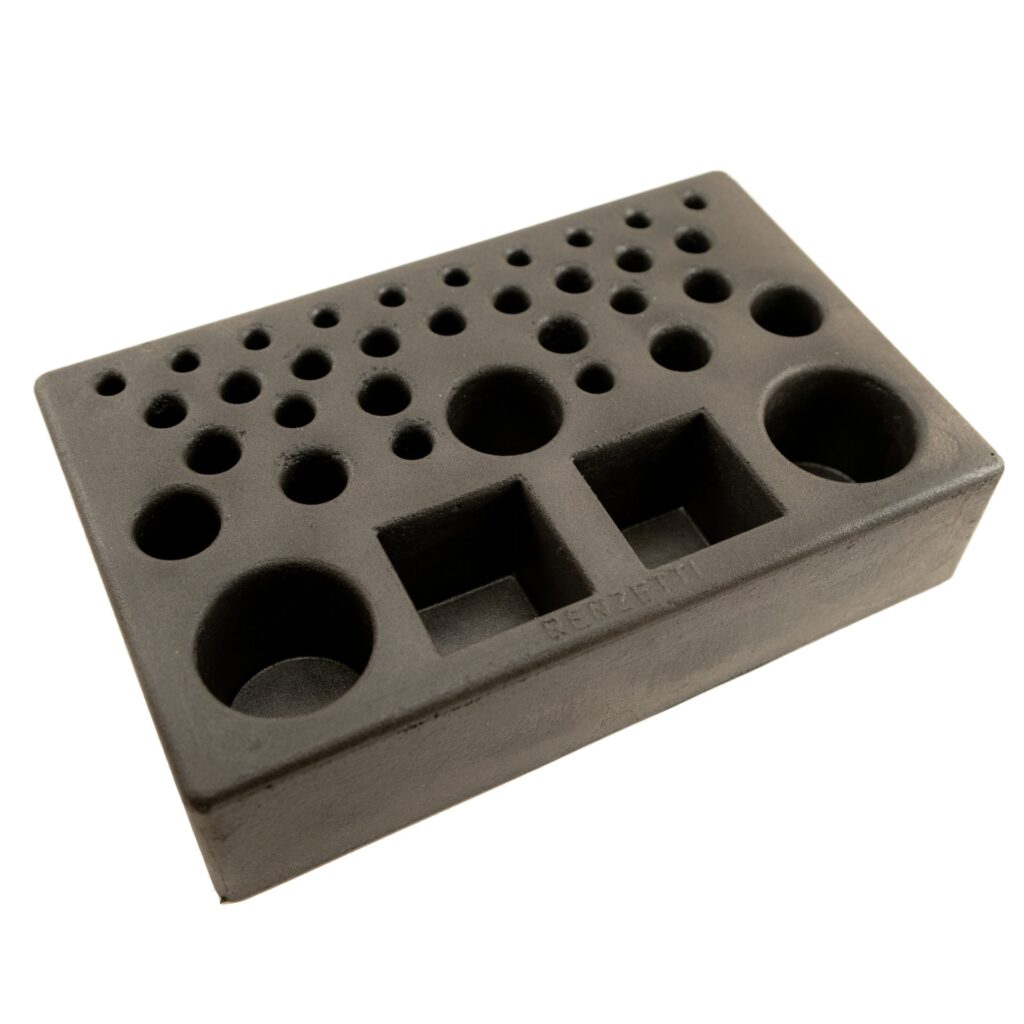
Fly Tying Tools Organizer
I worked for years without one and when I got it I couldn’t believe I waited so long. This may be pushing it as essential equipment but the cost/benefit is there and I recommend getting one sooner than later. You will thank me. There are several versions out there in different materials, but you can get this one from Renzetti for about $20.
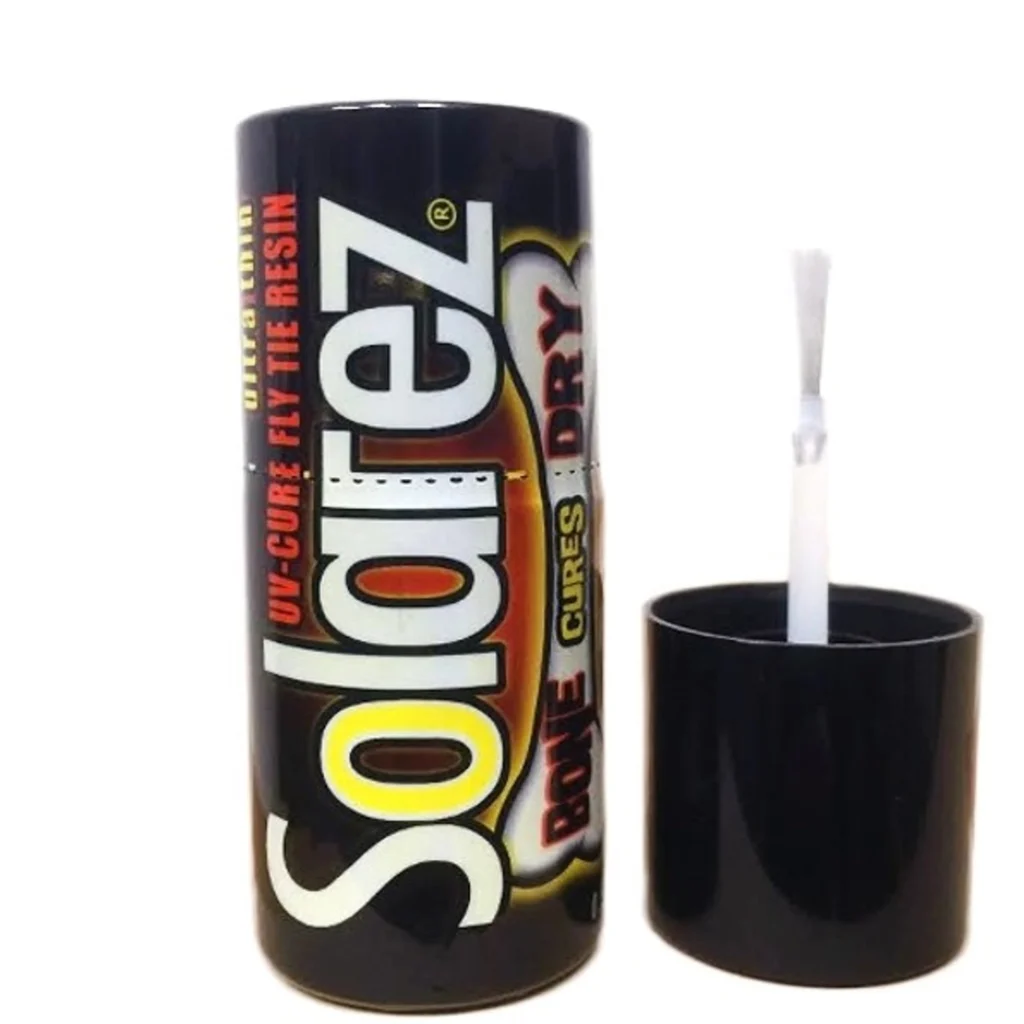
UV Resin System (depending on flies you tie)
I offer guidance here in case you determine you need to introduce UV resin into your fly tying in the beginning or at some point. I find it is great for backs on Copper John’s and some other nymph patterns. It is best applied in small amounts and built up to the final dimension. The problem with other systems is 1)the application with a tip applicator which is messy and hard to control and 2) the plastic bottle storage container which will allow it to get gel-like over time. Solarez Bone Dry solves those problems with a brush applicator and black-wrapped glass storage container. I have a rechargeable UV torch I picked up on Amazon but not sure what brand. It was cheap and still works great after several years. You can find this product for around $20.
5 thoughts on “Fly Tying Tools – Getting Started the Right Way”
Hello,
I am new to fly tying and I want to thank you for this article. I have purchased the Peak rotary vise. I had been looking at kits, went to my local fly shop and ended up buying the vise with the pedestal base. It is very solid and stable. Now I am looking into the other tools needed to begin tying. I have been looking at the Dr. Slick line.
With your suggestions in the article, I’m going to go with your recommendations.
Dale – I am very pleased to hear you avoided the kit! I am also glad you found the article helpful in guiding your decisions. I sure wish I had this information when I first started.
Tight lines!
fisjePhpBJkMGcax
Siteground: Siteground is known for its exceptional speed and advanced security features. They provide excellent customer support, automatic backups, and a user-friendly interface.
DreamHost: DreamHost is a well-established hosting provider, known for its solid uptime and fast-loading websites. They offer a wide range of hosting options, including shared, VPS, and dedicated hosting. [url=http://webward.pw/]http://webward.pw/[/url].
Siteground: Siteground is known for its exceptional speed and advanced security features. They provide excellent customer support, automatic backups, and a user-friendly interface.
Siteground: Siteground is known for its exceptional speed and advanced security features. They provide excellent customer support, automatic backups, and a user-friendly interface. [url=http://webward.pw/]http://webward.pw/[/url].